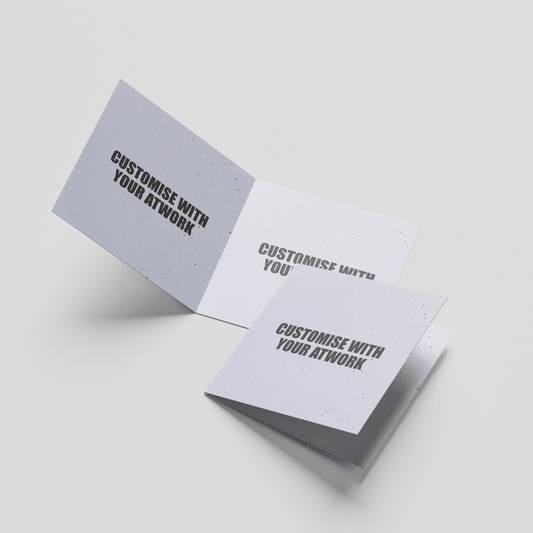
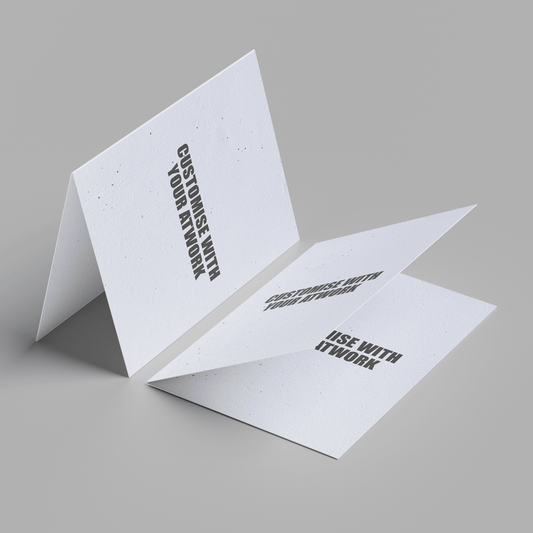
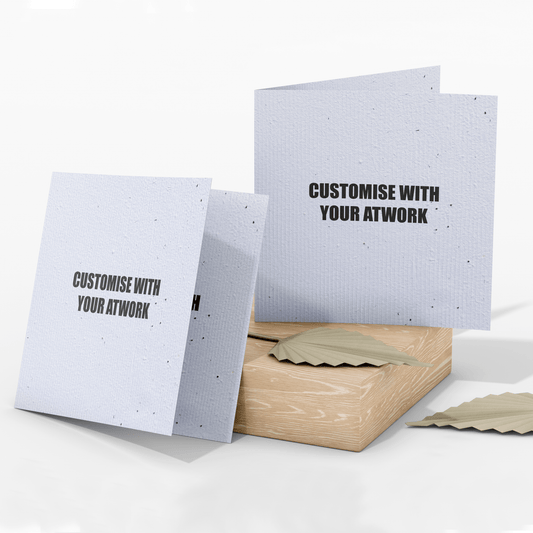
Artwork Specifications and Guidelines
Seed paper offers a unique and eco-friendly alternative to standard machine-made paper. It's lovingly handcrafted from recycled materials and embedded with seeds, making each sheet truly special. You'll appreciate the beautiful texture and subtle variations in colour, thickness, and seed placement.
Before we begin the full print run, we'll create a test print of your artwork and send you a photo for approval. We want to ensure that everything looks perfect, and if any adjustments are needed, we'll provide recommendations. You have the flexibility of up to three rounds of changes included in your order.
To expedite your order and achieve a stunning printed seed paper product, we kindly suggest following these helpful guidelines when preparing your artwork.
INK COVERAGE
When it comes to ink coverage, we want to ensure the best results for both seed germination and production costs. To achieve optimal outcomes, we recommend sticking to around 50% ink coverage or less.
If you plan on printing on both sides of the paper, it's important to note that only one side should have full/high colour. The reverse side should have minimal ink coverage to maintain the best quality.
To maintain the integrity of the paper, it's best to avoid large areas of solid colour and full-colour backgrounds if possible. Additionally, if your product is a folded card, we recommend avoiding any ink coverage on or near the fold line. This precaution helps minimise the chance of slight paper cracking when the card is folded.
Remember, using less ink not only enhances the texture of the paper but also allows the embedded seeds to be more visible. Let the natural beauty of the paper shine through!
TIPS FOR PERFECT PRINTS
When it comes to borders and printing to the edge on seed paper, it's important to consider a few factors. Due to the nature of the paper, there can be slight movement (approximately 1mm to 3mm) during the printing and trimming process. As a result, perfect alignment of vertical, horizontal, and centre elements may not always be achieved in the final product. This movement becomes more noticeable when artwork contains borders or text close to the edge.
To ensure the best outcome, we recommend placing images and important text at least 5mm away from the edge. This allows for a buffer zone and minimises the risk of elements being trimmed off.
If your design requires printing directly to the edge, please include a bleed allowance of 3mm beyond the trimmed edge. Extend your design into the bleed area to avoid any unwanted white space. Additionally, don't forget to include crop marks to guide the trimming process accurately.
For a visual reference, the following image illustrates the trim, clearance, and bleed areas based on a business card size of 90mm x 55mm:

FOR TAGS WITH A HOLE
Looking to create a tag with a hole? Here's a friendly tip to keep in mind:
Allow a 5mm clearance: When incorporating text on tags with a hole, make sure to keep it at least 5mm away from the hole position. This ensures clear visibility and prevents any overlap or obstruction.
To provide you with a clearer visual representation, here are some examples showcasing a 5mm clearance around punched holes (indicated by the green area):

FONT SETUP
Let's talk about fonts and type for your seed paper prints. Here are some friendly guidelines to consider:
Clear printing: To ensure legible text on the seed paper, we recommend a minimum font size of around 8pt. If you need to go smaller, please avoid using very fine or light fonts that might not reproduce well.
Contrast matters: Small, light-colored, or fine text on a dark background may not print as clearly on seed paper. To achieve the best results, it's advisable to avoid font sizes below 10pt for such cases.
Font embedding: When providing PDF files, remember to embed the fonts to ensure accurate reproduction. This allows us to maintain the intended look and feel of your design.
Outlined text: If your artwork includes die-cut lines or guides, it's best to convert the text to outlines. This ensures that the fonts appear as intended, as we may not have your specific font installed.
Need text edits? If you require small text modifications in your design, please supply the font files along with your files. This helps us make precise adjustments and maintain the consistency of your chosen fonts.
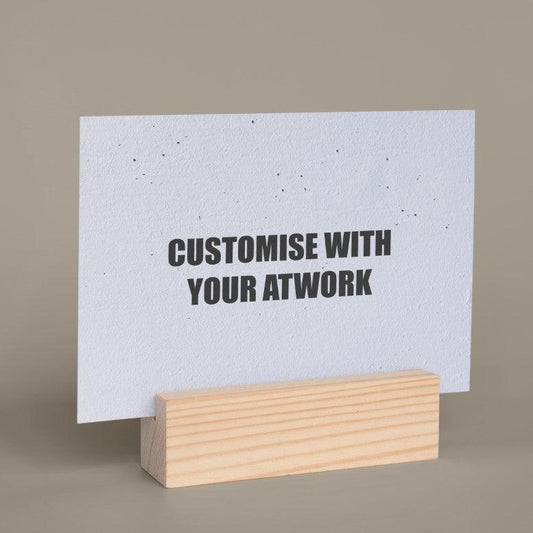
SEED PAPER CHARACTERISTICS
Let's dive into the wonderful characteristics of seed paper, including its colour and thickness! Here's some friendly information for you:
Paper thickness: Our seed paper falls within the range of 180 to 200 gsm. Since it's handmade and uncoated, it feels slightly thicker and offers a substantial weight. This makes it perfect for various products like business cards, postcards, and greeting cards. You can trust that your seed paper products will have a quality feel to them!
Beautifully varied colours: The colour of the seed paper is a delightful result of using recycled content. It can range from an off-white shade to a gentle cream colour. The handmade nature of the paper also means that you may notice slight variations in colour throughout. Plus, you'll be able to see the embedded seeds and the presence of recycled content, giving the paper a unique and eco-friendly appeal.
With its charming thickness, eco-friendly composition, and natural hues, seed paper offers a distinctive touch to your printed materials. We can't wait to help you bring your creative ideas to life on this wonderful paper!
PLANTING INSTRUCTIONS
As you design your artwork, don't forget to incorporate helpful planting instructions. Here are some suggestions to inspire you:
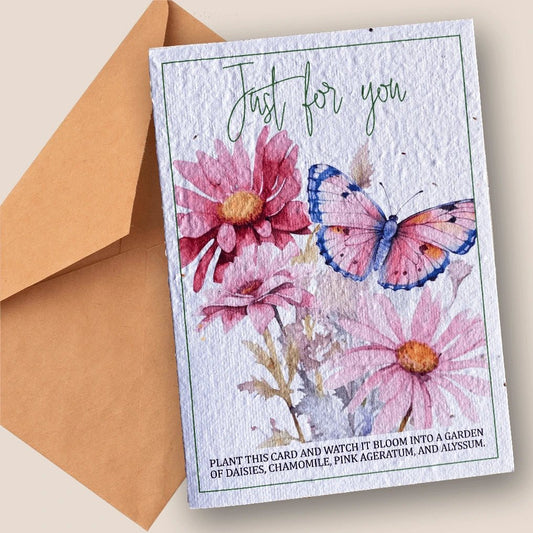
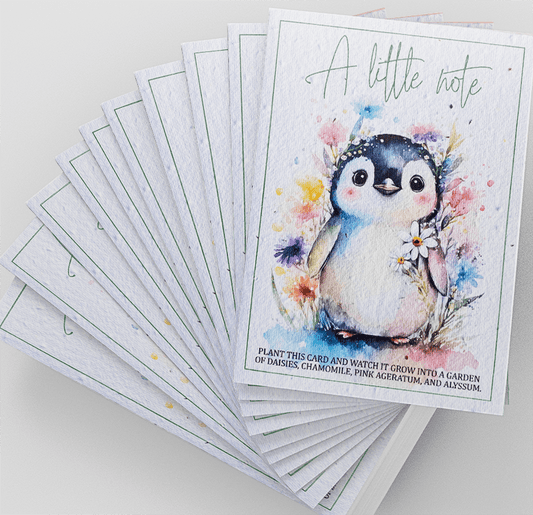
"This paper is embedded with seeds, a mix of Swan River Daisy, Chamomile, Pink Ageratum and Alyssum. To grow, soak in water and plant under a thin layer of soil. Water regularly, keeping the paper damp until seedlings sprout."
"Grow beautiful flowers from this eco-friendly paper! Soak the paper in water until it becomes soft. Place it on a bed of fertile soil, lightly cover it with more soil, water generously, and keep the soil moist. Watch your flowers bloom within 2-4 weeks!"
"Unleash the magic of nature with this seeded paper! Soak the paper in water until it's pliable. Lay it on a pot filled with nutrient-rich soil, lightly cover it with a thin layer of soil, water regularly, and ensure the soil stays damp. Within a few weeks, witness the enchanting sprouts emerge!"
"This paper is embedded with herb seeds, ready to be transformed into a green oasis! Submerge the paper in water until it softens. Place it on a planter or directly in the ground, cover it lightly with more soil, water gently, and maintain moisture. Soon, you'll have fresh herbs right at your fingertips!"
"Plant happiness with this special seeded paper! Immerse the paper in water until it becomes soft. Lay it on a pot or garden bed filled with well-drained soil, lightly sprinkle more soil over it, water regularly, and keep the soil consistently moist. Await the joyful sprouts within a few weeks!"
"Let your love for nature bloom with this plantable paper! Soak the paper until it's soft. Place it on a sunny spot in your garden, cover it gently with soil, water generously, and ensure the soil remains damp. As days pass, watch vibrant flowers grace your surroundings and spread joy!"
Remember to customise these instructions based on the specific seeds embedded in your choice of paper.
FILE FORMATS
To ensure smooth printing, please follow these guidelines for file formats:
- Correct trim size: Make sure your artwork is provided at the specified trim size. This helps us achieve precise and accurate printing.
- Printing to the edge: If your design extends to the edge of the paper, include a bleed allowance of 3mm beyond the trim size. Additionally, don't forget to include crop marks to ensure proper alignment. Remember to extend your artwork into the bleed area to avoid any unwanted white borders.
- No printing to the edge: If your design does not require printing to any edge, a bleed allowance is not necessary.
- Printing on both sides: If your design includes printing on both sides, please supply each side as individual files. This ensures that both sides are correctly represented during the printing process.
- Accepted file formats: We accept Print Ready PDF files and Adobe Illustrator files.
If your artwork is supplied as an Illustrator file, please take note of the following additional guidelines:
- Convert fonts to outlines or supply font files. This ensures that the text appears as intended as we may not have your specific fonts installed.
- Embed any images/logos or provide linked files to ensure that all necessary graphics are included.
- If there are guides or information in your artwork that should not be printed, please place them on separate layers. This allows us to easily identify and edit them as needed.
By following these friendly tips, you'll help us ensure a smooth printing process and bring your designs to life flawlessly.
We're here to make your seed paper prints look amazing, so don't hesitate to reach out to us at hello@plantacard.com.au if you have any questions or need further assistance!
Plantable Cards
-
FRIENDSHIP Plantable Card
Regular price $14.95Regular price -
PETAL Plantable Card
Regular price $14.95Regular price -
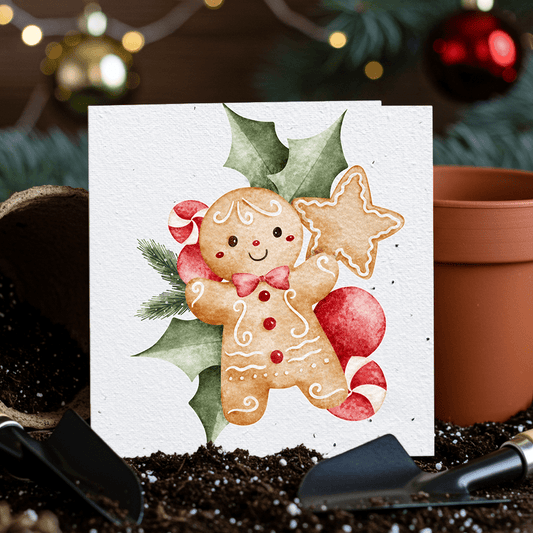
Christmas Gingerbread Plantable Card
Regular price $14.95Regular price -
A Little Bit of Sunshine Plantable Card
Regular price $14.95Regular price$14.95Sale price $14.95 -
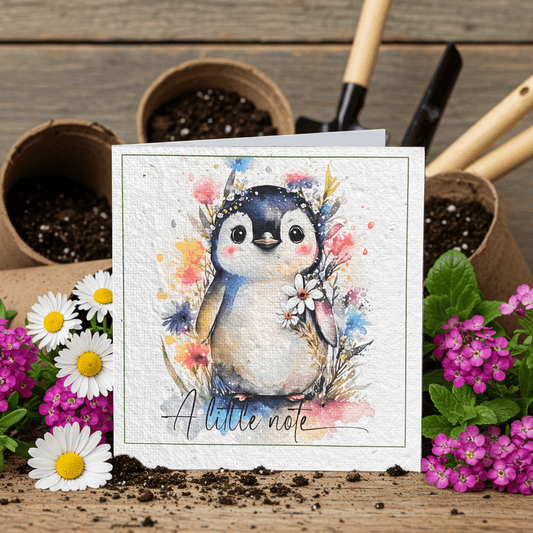
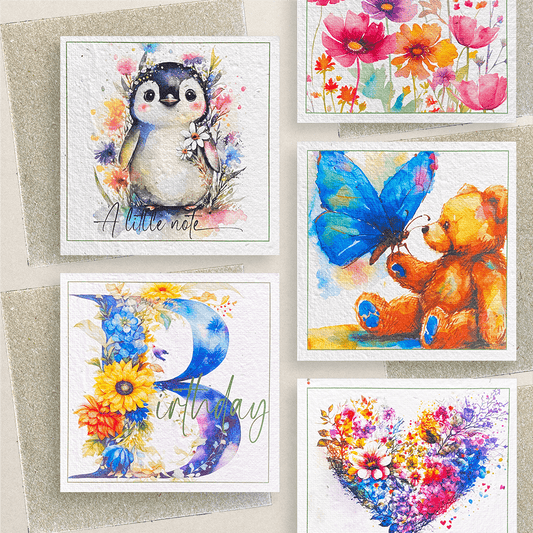
A Little Note Plantable Card
Regular price $14.95Regular price -
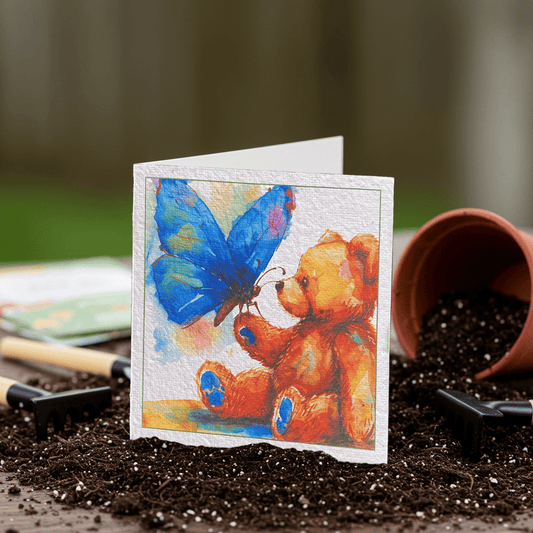
Bear & Flutter Plantable Card
Regular price $14.95Regular price -
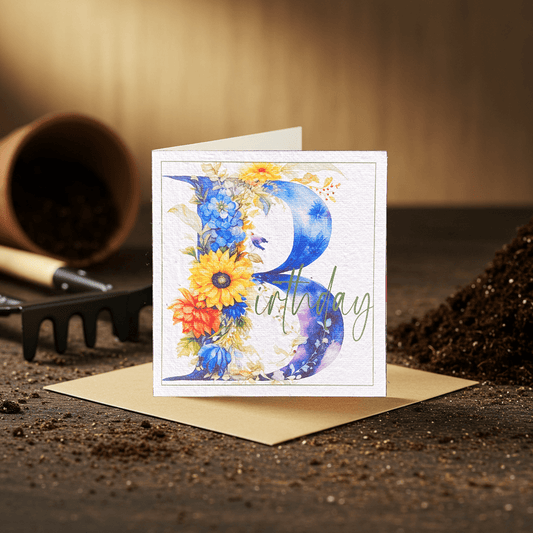
Birthday 'B' Plantable Card
Regular price $14.95Regular price -
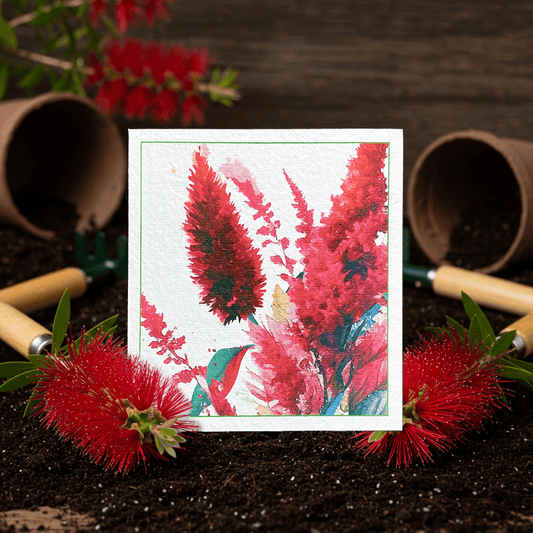
Bottlebrush Beauty Plantable Card
Regular price $14.95Regular price -
Breezy Balloons Plantable Card
Regular price $14.95Regular price -
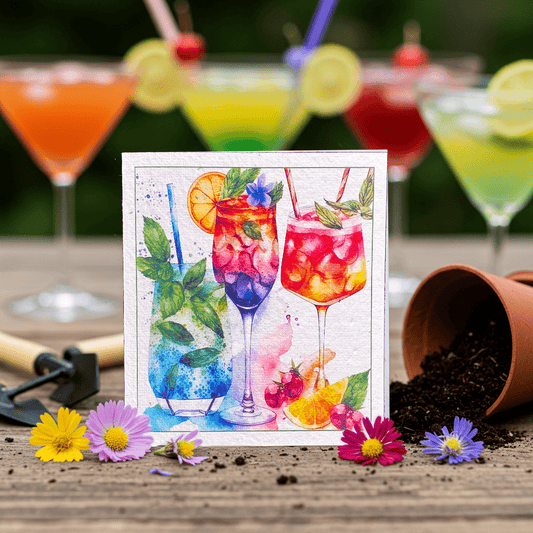
Cocktail Cheers Plantable Card
Regular price $14.95Regular price -
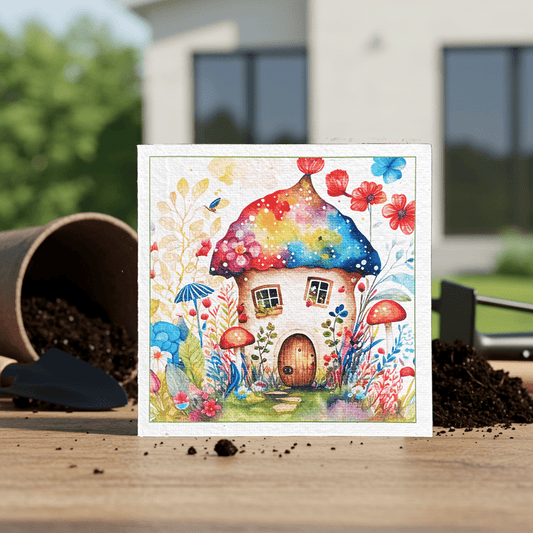
Enchanting Home Plantable Card
Regular price $14.95Regular price -
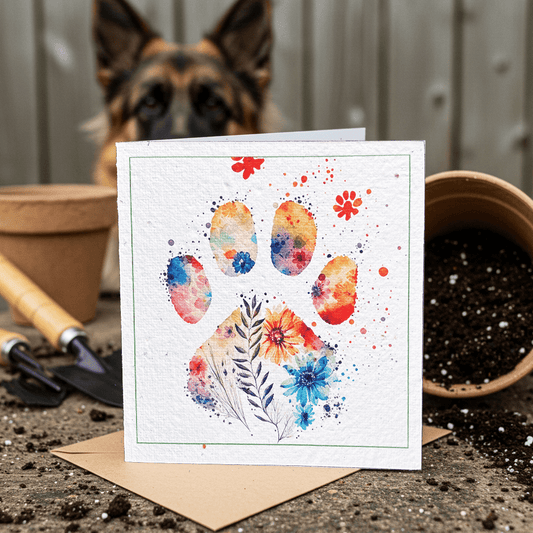
Floral Paw Plantable Card
Regular price $14.95Regular price -
Herb Haven Plantable Card
Regular price $14.95Regular price -
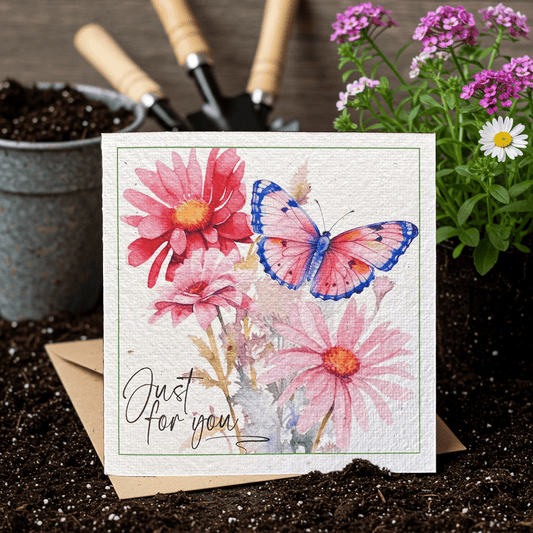
Just For You Plantable Card
Regular price $14.95Regular price -
Lettuce Grow Plantable Card
Regular price $14.95Regular price -
Love Blooms Plantable Card
Regular price $14.95Regular price -
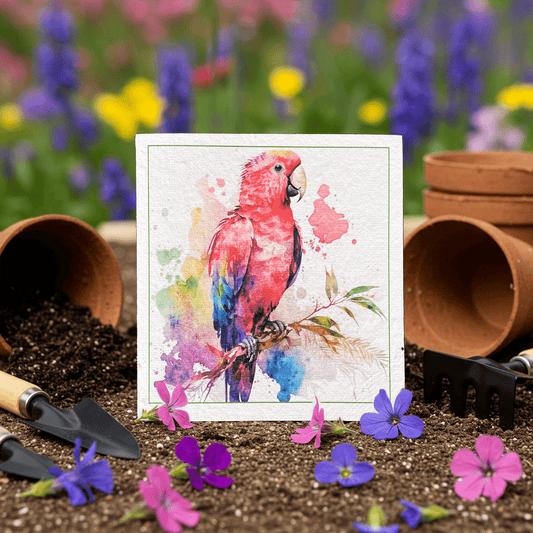
Parrot Paradise Plantable Card
Regular price $14.95Regular price -
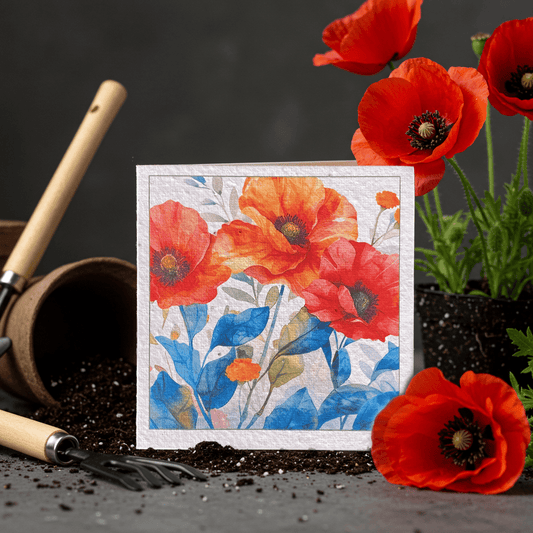
Poppy Bloom Plantable Card
Regular price $14.95Regular price -
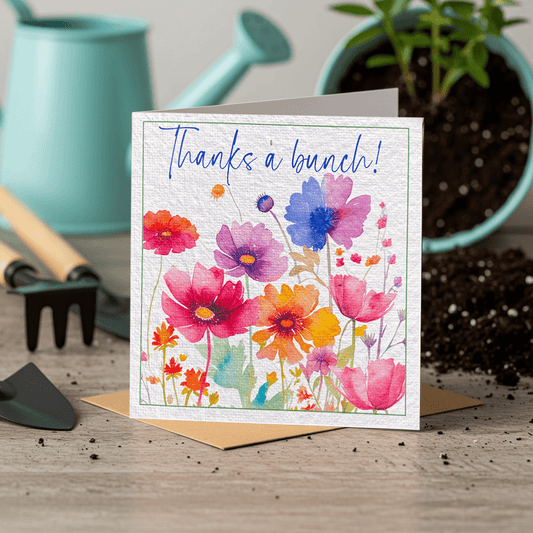
Thanks A Bunch Plantable Card
Regular price $14.95Regular price -
Thinking of You Plantable Card
Regular price $14.95Regular price -
Just For You Plantable Card
Regular price $9.95Regular price$14.95Sale price $9.95Sale -
5 Pack // Buy 4, Get 1 FREE!
Regular price $59.80Regular price$74.75Sale price $59.80Sale -
10 Pack // Buy 7, Get 3 For FREE!
Regular price $104.65Regular price$149.50Sale price $104.65Sale


Make Your Own
-
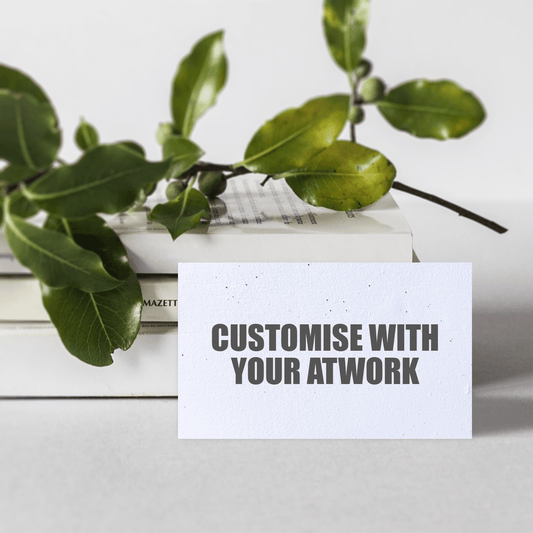
Custom Business Cards - 90mm x 55mm
Regular price From $2.50Regular price -
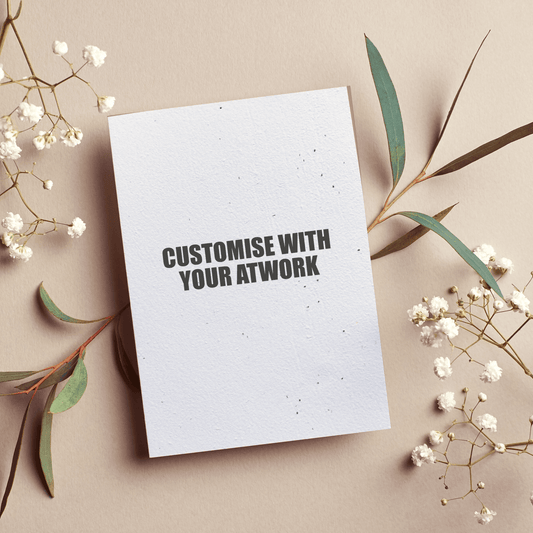
Custom Flat Cards - A7 105mm x 74mm
Regular price From $2.80Regular price -
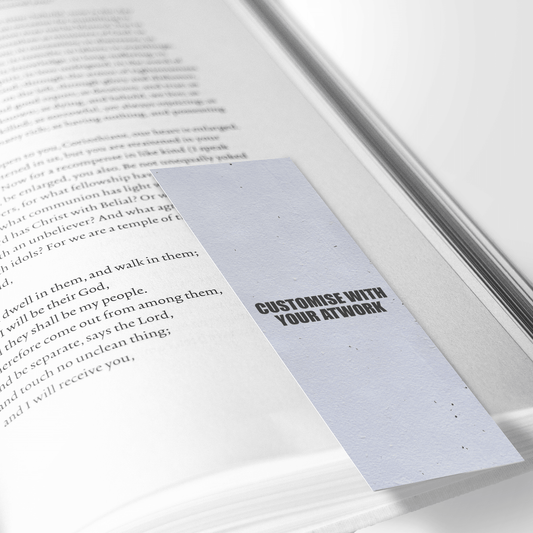
Bookmarks - 145mm x 50mm
Regular price From $3.05Regular price -
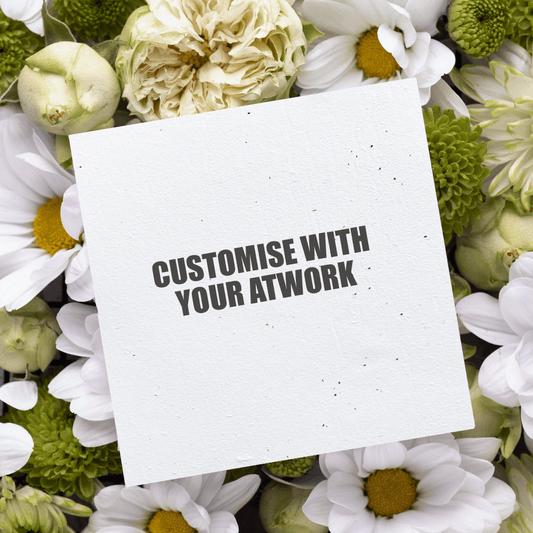
Custom Flat Cards - 100mm Square
Regular price From $3.40Regular price -
Custom Flat Cards - Small 135mm x 80mm
Regular price From $3.80Regular price -
Custom Flat Cards - A6 105mm x 148mm
Regular price From $4.65Regular price -
Candle Dust Cover - 82mm Round
Regular price From $4.80Regular price -
Custom Flat Cards - 150mm Square
Regular price From $5.60Regular price -
Custom Flat Cards - DL 210mm x 99mm
Regular price From $5.60Regular price -
Custom Folded Cards - A7 105mm x 74mm
Regular price From $6.00Regular price -
Custom Folded Cards - 100mm Square
Regular price From $6.15Regular price -
Custom Folded Cards - A6 105mm x 148mm
Regular price From $7.50Regular price -
Custom Folded Cards - 150mm Square
Regular price From $10.70Regular price